
Last updated November 14, 2026
 Wrought iron
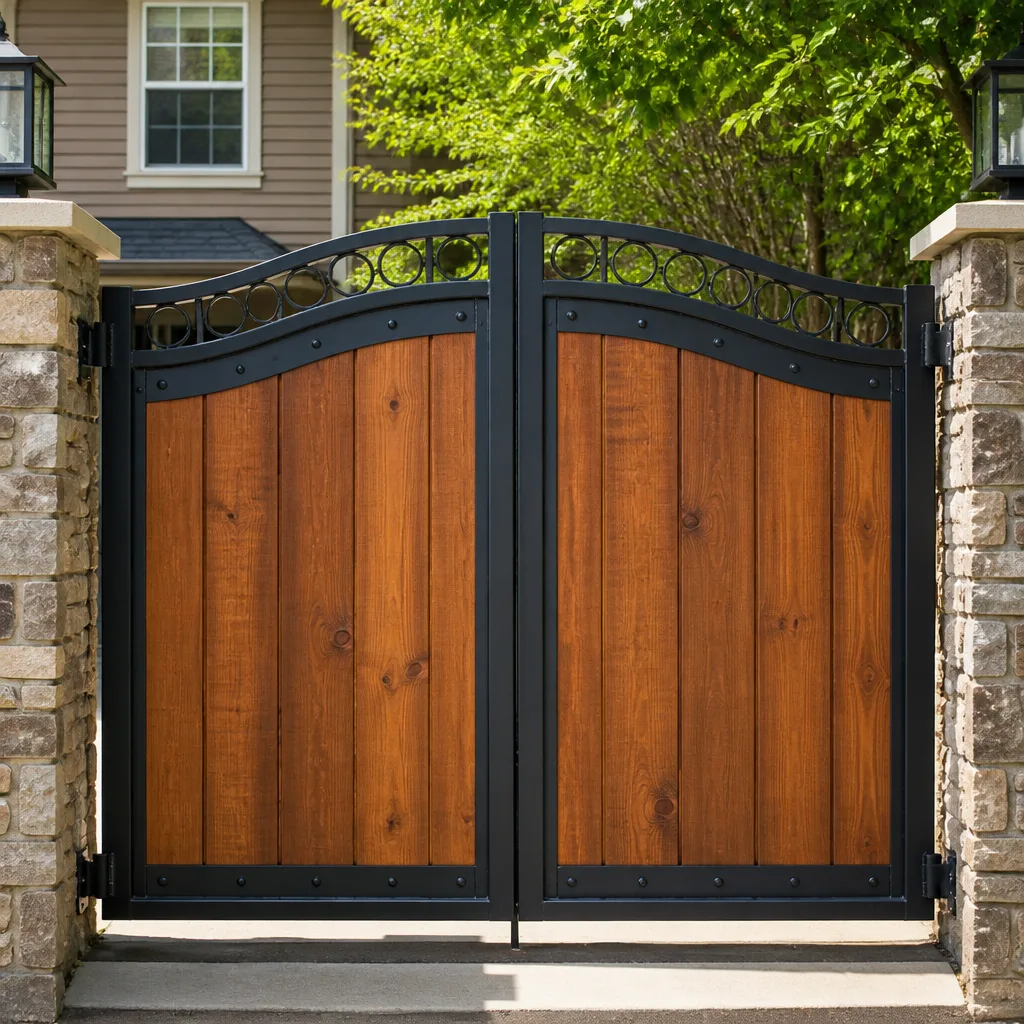 Wood & steel frame
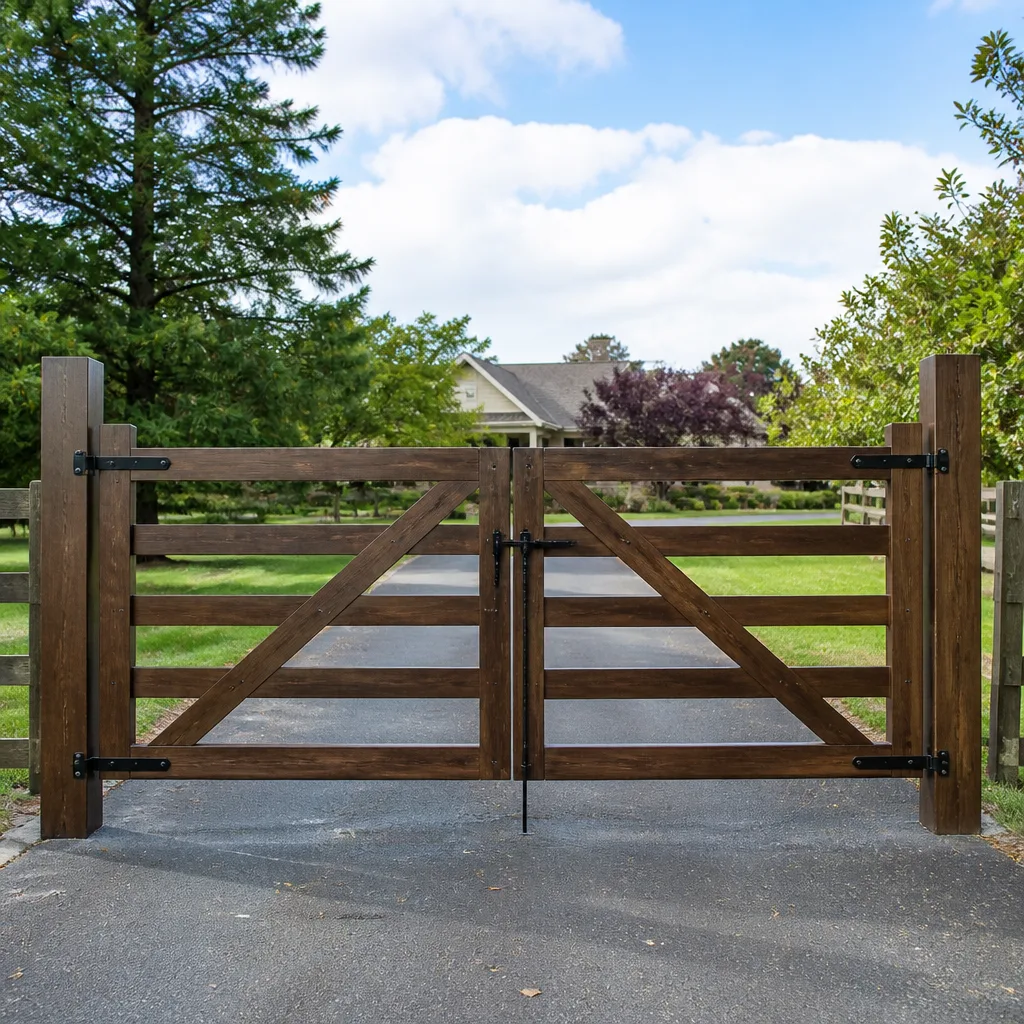 Farm & ranch
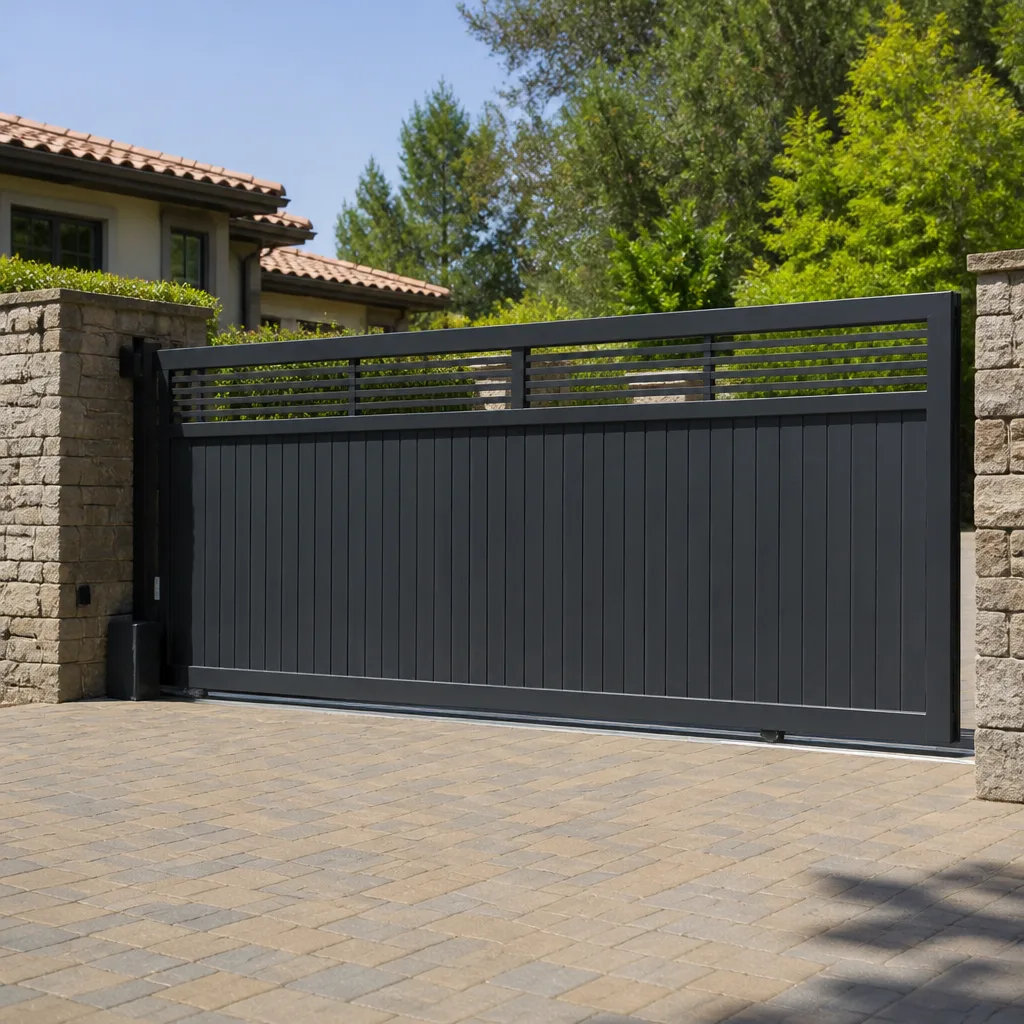 Sliding driveway gates
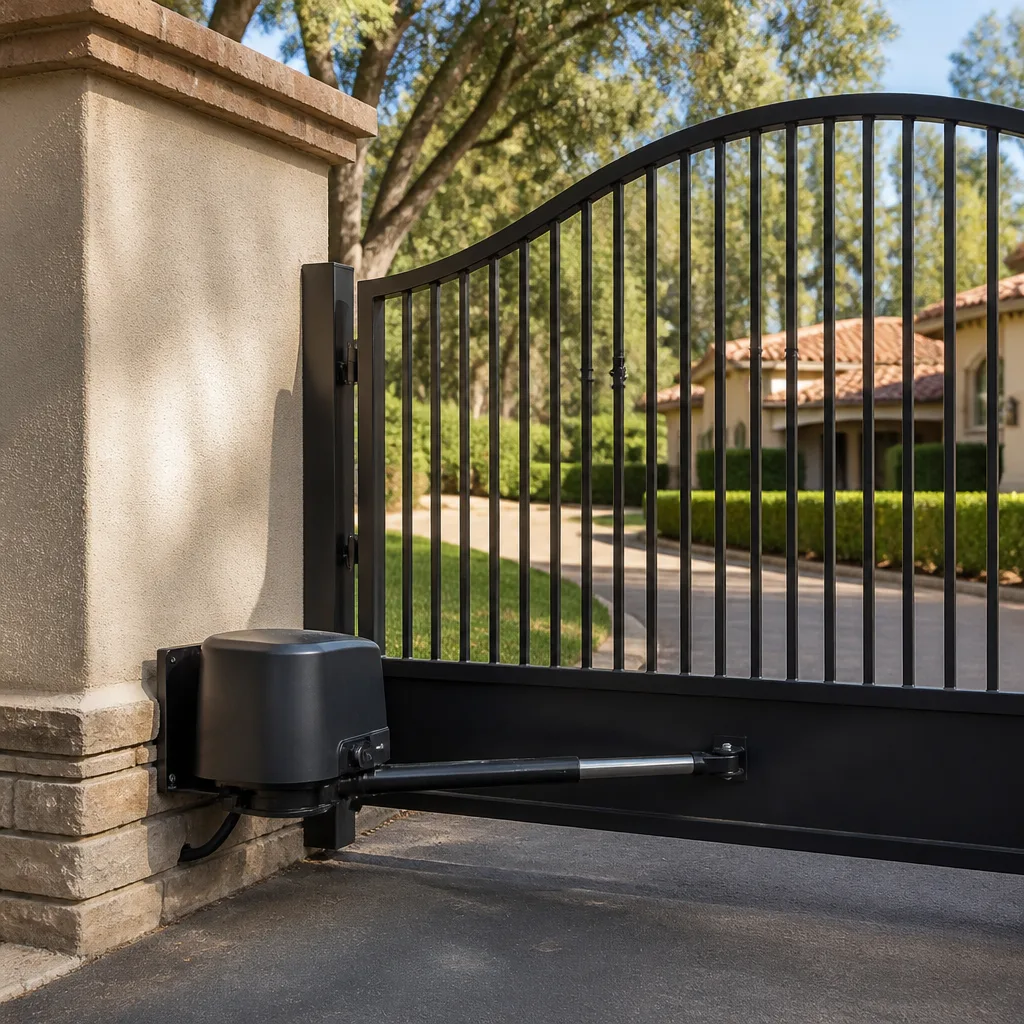 LiftMaster operators
Free on-site gate assessment - hinges, posts, and your LiftMaster or Nice gate operator checked before anything is quoted
The assessment is free and the quote is the invoice.
Get your free estimateGate Repair Troubleshooting in Westminster: Common Problems and How to Fix Them
Most gate troubleshooting advice is organized by symptom, which is exactly why it fails. If you start with “the gate opens halfway” you might replace a motor that was never the problem, or adjust a sensor when the real issue is a hinge that has been binding since the last freeze. The wrong diagnostic order is what turns a straightforward fix into a three-visit job. In this guide we walk through the sequence we actually use in the field, from power to signal to mechanical to operator to control board, and we explain which findings mean stop and which are safe to defer. Whether your gate is a Mighty Mule swing unit or a LiftMaster slide operator, the order stays the same.
Quick Answer
Most gate failures in Westminster trace back to one of five root causes, and the fastest way to find yours is to check them in a fixed order: power first, then signal (safety sensors and remote commands), then mechanical (hinges, tracks, posts), then the operator, and finally the control board. A gate that won’t move at all almost always points to power or signal. A gate that moves but moves wrong points to mechanical binding or operator calibration. Working the sequence in order prevents the most common and most expensive mistake: replacing a motor when the real fault is a hinge, a sensor, or a loose wire.
Styles & brands we work with
- Wrought iron
- Wood & steel frame
- Farm & ranch
- Sliding driveway gates
- LiftMaster operators
Table of Contents
- Why Diagnostic Order Matters More Than the Symptom List
- Step One: Power and Signal Before Anything Else
- A Gate That Won’t Move vs. a Gate That Moves Wrong
- How Freeze-Thaw Cycles Cause Hinge Binding That Looks Like Motor Failure
- The Two Safety Sensor Failure Modes That Trip Up Most DIYers
- The Operator and the Control Board: What to Check Last
- Which Findings Mean Stop Immediately and Which Can Wait
- Common Mistakes to Avoid
Why Diagnostic Order Matters More Than the Symptom List
Alphabetical symptom lists are written for the person reading, not the person fixing. They feel tidy: won’t open, won’t close, opens halfway, makes a grinding noise, remote doesn’t work. But the same symptom can come from three completely different systems, so a list that doesn’t tell you where to start is really just a list of guesses. When we arrive at a property in Westminster, we don’t ask what the gate is doing first. We ask nothing at all until we’ve verified power, because everything downstream depends on it.
The sequence we use is power, then signal, then mechanical, then operator, then control board. Each step eliminates a whole category of faults before you spend a dollar on parts. If you skip straight to the operator, you might buy a replacement board for a gate that had a tripped breaker. If you jump to the mechanic side, you might swap hinges on a gate whose remote receiver lost its pairing after a power surge.
There’s a practical reason this order works well in the Denver metro. Homes here are spread across decades of construction, so a single block can hold a 1970s manual gate, a 2000s SwingMaster install, and a brand new FAAC automated system. The wiring, sensor types, and operator control logic all differ. Working from the general to the specific keeps you from assuming your system behaves like the neighbor’s.
The other benefit of the ordered approach is that it produces a clear diagnosis instead of a parts guess. When you reach the operator as the last step, you already know power and signal are healthy, so any issue you find there is real. Every repair we do starts with that logic, which is why we describe our process as diagnose before we quote. At Westminster Gate Repair we’d rather spend the first ten minutes confirming the cause than the first hour replacing components that were fine.
Step One: Power and Signal Before Anything Else
Before you look at anything mechanical, confirm the gate has power and is receiving a command. This is the step most people skip, and it’s the one that catches the greatest share of “dead gate” calls. A gate that won’t respond at all is far more likely to be a power interruption or lost signal than a failed motor.
Power: the first thing to confirm
- Breaker: Find the breaker that feeds the operator. Automated gates usually run on a dedicated circuit, and a tripped breaker is a two-minute check.
- Operator disconnect: Some systems have a service disconnect or a keyed power switch near the operator cabinet. Make sure it’s in the on position.
- Battery backup: Many LiftMaster and FAAC operators carry a battery for power loss. A dead backup battery can make a gate behave as if it has no power even when the circuit is live.
- Wiring at the operator: Look for obvious damage where wires enter the cabinet. Loose connections here are surprisingly common after a windy season or a yard project.
Signal: is the gate receiving a command?
Once power is confirmed, check whether the gate is actually being told to open. A remote that lost its pairing, a keypad with a dead battery, or an intercom that isn’t sending a signal will all make a perfectly healthy gate appear dead. Test with a second control method if you have one. If the wall-mounted button works but the remote doesn’t, you’ve narrowed the fault to the remote or its receiver. If nothing works, you’re back to the operator or control board.
If you’d rather hand this first step to someone with a meter and a brand-specific receiver tester, our electric gate repair team handles power and signal diagnosis on automated systems across the metro, and the same logic applies whether your gate is in Westminster or just down the road.
A Gate That Won’t Move vs. a Gate That Moves Wrong
This is the single most useful distinction in gate troubleshooting, and it’s the one most guides never make. Whether the gate refuses to move at all, or moves but moves incorrectly, tells you which half of the system to look at. Mixing them up is how people end up replacing perfectly good hardware.
A gate that won’t move at all. Dead in place, no motor sound, no movement. This points to power, signal, or the operator’s logic. The motor isn’t being told to run, or it can’t run. In our experience most no-move calls trace to a tripped breaker, a lost remote pairing, a stuck sensor, or a board that has faulted. Mechanical problems rarely cause a complete stop; a binding hinge makes a gate struggle, not freeze.
A gate that moves but moves wrong. It opens halfway and reverses, closes on its own, jerks, grinds, drifts past its stop point, or moves slowly. This points to mechanical resistance or operator calibration. The motor is trying to work, but something is fighting it or the limits are set incorrectly. Swing and slide gates show different symptoms here.
- Reverses mid-travel: usually a sensor or an obstruction the sensor sees.
- Grinds or jerks: mechanical binding, a worn hinge, or debris in a slide gate track.
- Moves slowly and strains: resistance in the mechanism the motor has to overcome.
- Drifts past its stop: operator limit settings, not the motor itself.
In a Colorado climate, the “moves but moves wrong” category is where hinge binding hides. We’ll cover that next, because a gate that overcomes a stiff hinge by straining eventually burns out an operator that was fine. If you’re seeing that pattern and want a proper diagnosis rather than another guess, our gate repair specialists work the discipline of separating won’t-move from moves-wrong on every call.
How Freeze-Thaw Cycles Cause Hinge Binding That Looks Like Motor Failure
Here’s a piece of local context that explains a large share of misdiagnosed gate repairs in Westminster. The Front Range freeze-thaw pattern, with warm afternoons and freezing nights through much of the cold season, is brutal on gate hardware. Water gets into hinge pins and between moving metal surfaces during the day, then freezes overnight. Over a season that cycling wears and distorts the pivot points a swing gate depends on.
The result is a hinge that stops swinging freely. A gate that used to move with a light push now needs real effort. On a manual gate the symptom is obvious: it drags. On an automated gate it’s deceptive. The operator compensates by pushing harder, so the customer sees a motor that suddenly seems weak or slow. It isn’t. It’s working against a hinge that has become a brake.
This is why we always check the gate by hand before we trust the motor reading. Disconnect the operator, or put it in manual release, and try to swing or slide the gate by hand. A healthy gate moves with light, even resistance. A binding gate needs force, or moves in a lurch as it breaks free of the friction at each pivot.
What to check on a binding gate
- Put the operator in manual release so the gate is free of the motor.
- Push the gate through its full travel by hand and feel for tight spots.
- Inspect hinge pins and post brackets for rust, play, or distortion.
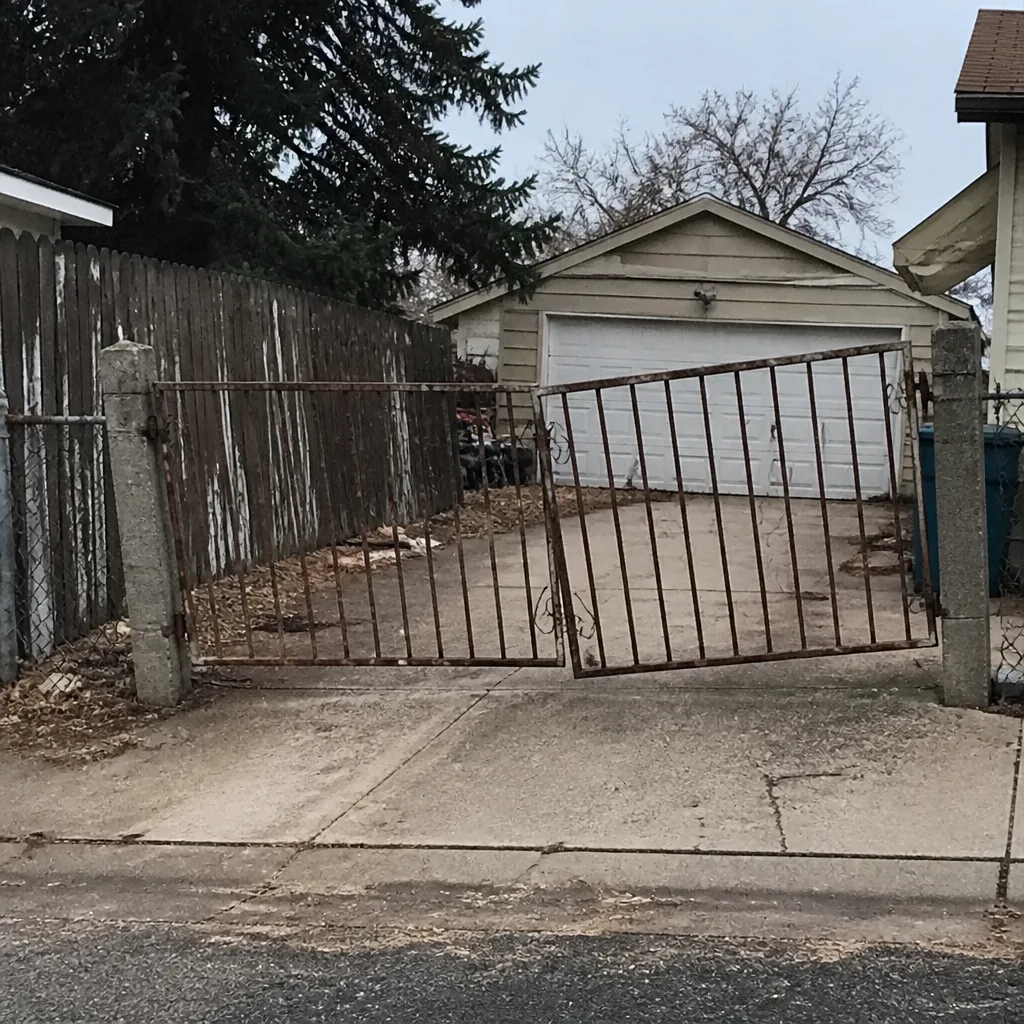
- Check for a sagging gate that has dropped on its hinges and now drags.
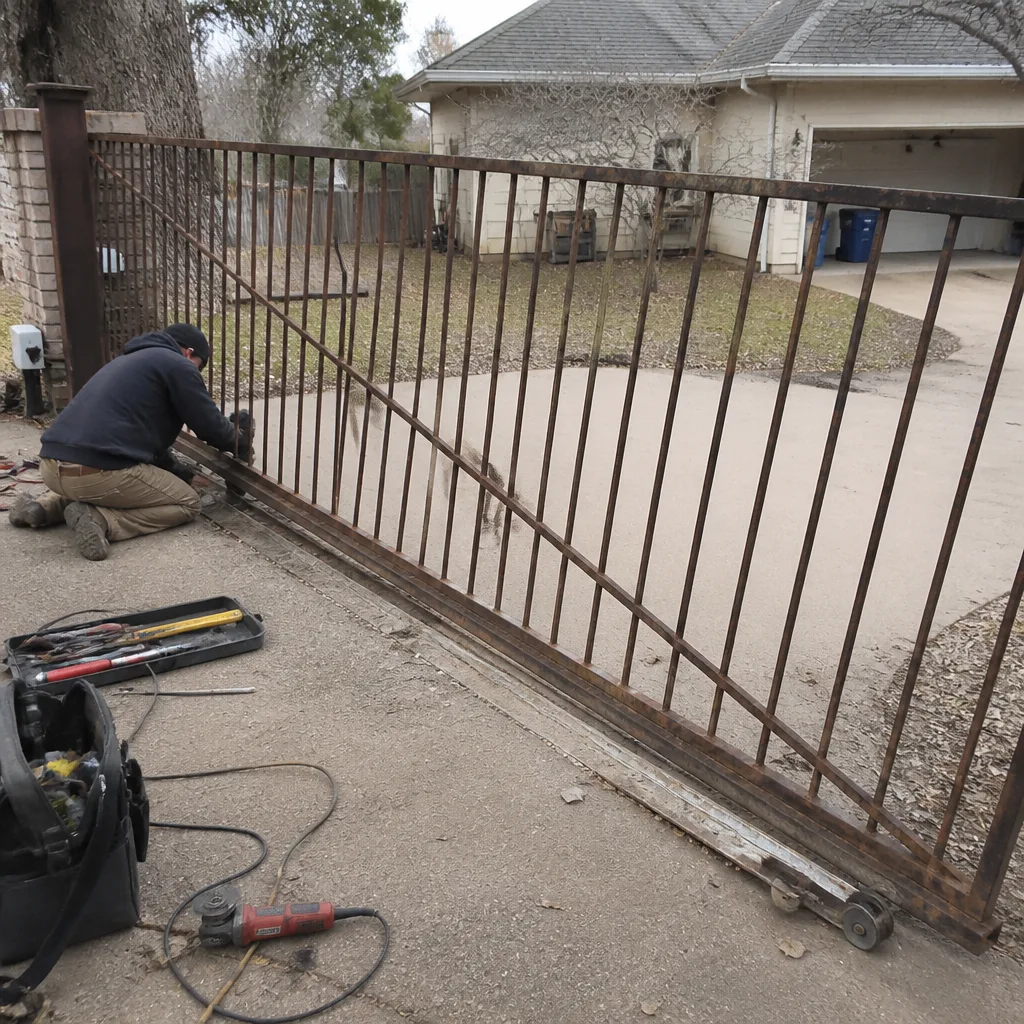
- Look at slide gate tracks for debris, grit, or a bent section.
If the gate is stiff by hand, the fix belongs in the hardware, not the operator. Swapping the motor on a binding gate just gives you two problems. When the binding is severe, or when post brackets have shifted, that’s a job for someone who services gates every day rather than a weekend project.
The Two Safety Sensor Failure Modes That Trip Up Most DIYers
Safety sensors stop the gate from closing on a person, a vehicle, or an object, and they’re the last thing many people check. They’re also the reason a huge share of “the gate won’t close” calls happen. There are two distinct failure modes, and knowing which one you have tells you whether the fix is a cleaning cloth or a mounting adjustment.
Failure mode one: blocked
Something is physically in the sensor’s path. It could be a leaf, a spider web, dirt on the lens, or a lawn chair parked too close. The sensor sees an obstruction and does exactly what it should: it refuses to let the gate close. The gate opens fine and stalls or reverses on the close cycle. This is the easier of the two to diagnose, and often the easier to fix. Clear the path, wipe the lenses, then test.
Failure mode two: misaligned
The two sensor units have drifted out of alignment with each other. The receiver no longer “sees” the transmitter’s beam, so it reads the path as permanently blocked. This happens when a mounting bracket loosens, a post shifts with ground movement, or the sensor was bumped. The gate behaves exactly like the blocked case, but cleaning does nothing because the problem isn’t dirt, it’s geometry. You can usually tell by looking at the small indicator lights on the sensors. On most systems, a healthy pair shows a steady light on each side; a misaligned pair shows a light that is out or flickering.
Here’s the important part: sensor faults are electrical and optical, not mechanical. No amount of motor adjusting fixes a misaligned sensor, and no amount of replacement parts makes up for a lens full of grime. Check the sensors before you call the motor a suspect. On brand-specific systems like those from BFT or Mighty Mule the indicator behavior varies, so know your operator’s manual or have a specialist read it for you. In our experience, working the sensor check first explains a large share of closure faults we see in and around Highlands Ranch and Westminster.
The Operator and the Control Board: What to Check Last
By the time you’ve cleared power, signal, mechanics, and sensors, you’ve already eliminated most problems. What’s left belongs to the operator and its control board. This is where specialist knowledge matters, because the operator is where most generalists stop guessing and start swapping parts. There are several common operator and board faults worth recognizing.
- Limit cams and switches: the hardware that tells the operator where the gate should stop.
- Strain from resistance: an operator that has been fighting a binding gate shows excess current draw, worn gears, or heat.
- Control board faults: the board that runs logic, radio receiver, and safety input can fault from a power surge.
- Accessory wiring: keypads, intercoms, and loop detectors that feed the board can fail and confuse the operator.
Operator diagnosis is the part that separates a specialist from a generalist. The board on a LiftMaster swing operator and the board on a FAAC slide operator are built differently, read faults differently, and fail for different reasons. Working on the brand you actually have, rather than substituting a generic part, is what makes the difference on these last-step repairs. Our team is factory-familiar with nine major brands, which means the operator you have is one we’ve already diagnosed many times.
Reading a fault without a meter
Some operators report their state through LED codes or through the behavior of the gate on start-up. A gate that powers up, beeps, and gives a specific sequence of flashes is telling you what it thinks is wrong. Capture the behavior and check the manual. If the board is reporting a safety error, go back to the sensors. If it’s reporting a limit or travel error, go back to mechanical and calibration. The fault codes are a shortcut back to the right step.
Which Findings Mean Stop Immediately and Which Can Wait
Not every finding should turn into an emergency, and not every finding can wait. Here’s how we separate them. Knowing which is which keeps you from risking injury on a fix that needs to stop, or from living with a small issue that will grow.
Stop immediately
- Sheared limit cams or damaged limit hardware: if the parts that set stop points are broken, the gate can run past its travel and do structural damage or trap a person. Do not operate it. Call a technician.
- Frayed or exposed wiring near the drive chain or moving parts: this is an injury risk and a shock hazard. Anything involving power wiring near moving hardware is a stop-and-call situation.
- Severe gate sag or a gate off its track: a heavy gate panel that has shifted can fall or crush. Don’t try to run the operator.
- Mains power fault or burned smell from the operator cabinet: a sign of electrical trouble that needs a professional.
Safe to defer
- A squeaky hinge that still moves freely.
- A dirty sensor lens that clears the first time you wipe it.
- A fading remote battery or an unresponsive keypad button.
- A slow slider that still completes a full cycle smoothly.
If you’re not sure which category your finding belongs to, err toward the cautious side. When there’s any chance a heavy panel or a live wire is involved, keep people and vehicles clear and call a specialist.
Two Ways We Simplify This for Westminster Customers
One reason people end up on a three-visit repair is that they change shops as symptoms shift. The power fix gets done by one company, the mechanical work by a handyman, and the operator work by a third. That’s exactly what single-trade depth avoids. Every call, diagnosis, and repair at Westminster Gate Repair is done by technicians whose day job is gates. We work on the brand you have rather than the one that’s easiest to stock, so the diagnosis stays in one place. Automation is a core service for us, not a side job, and while the specific fault varies, the approach stays the same.
Common Mistakes to Avoid
- Replacing the motor before checking the hinge. In a freeze-thaw climate, a stiff hinge can look exactly like a failing motor. Always test the gate by hand first.
- Chasing sensors without looking at the indicator lights. A blocked sensor and a misaligned sensor look identical from the driver’s seat but need different fixes. Read the lights.
- Ignoring a gate that “works but grinds.” Strain is cumulative. An operator that fights resistance every cycle wears out faster than one that moves freely.
- Assuming a dead gate means a dead board. Confirm breaker, operator disconnect, and battery backup before you touch the board. A tripped breaker is not a control board fault.
- Wiring by guess or by YouTube on a heavy automated gate. Power wiring near a drive chain or a heavy panel is a safety matter, not a DIY project.
- Jumping to a substitute brand part. A part from a different manufacturer may fit but not match the operator’s logic. Brand-matched parts save the second visit.
- Calling a generalist for an operator board fault. Control boards, sensors, and access systems are where generalists guess. A gate specialist diagnoses.
See the difference
 Before
 After
 Before
 After
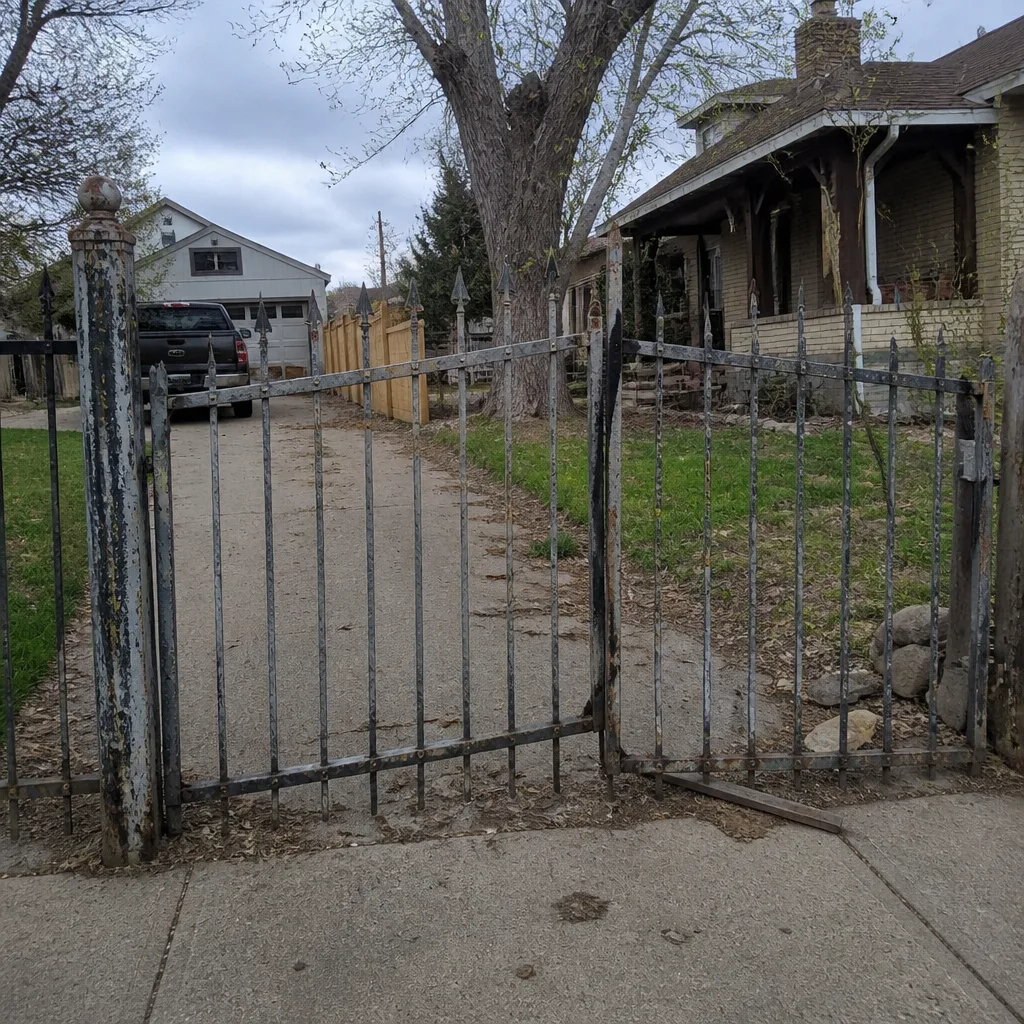 Before
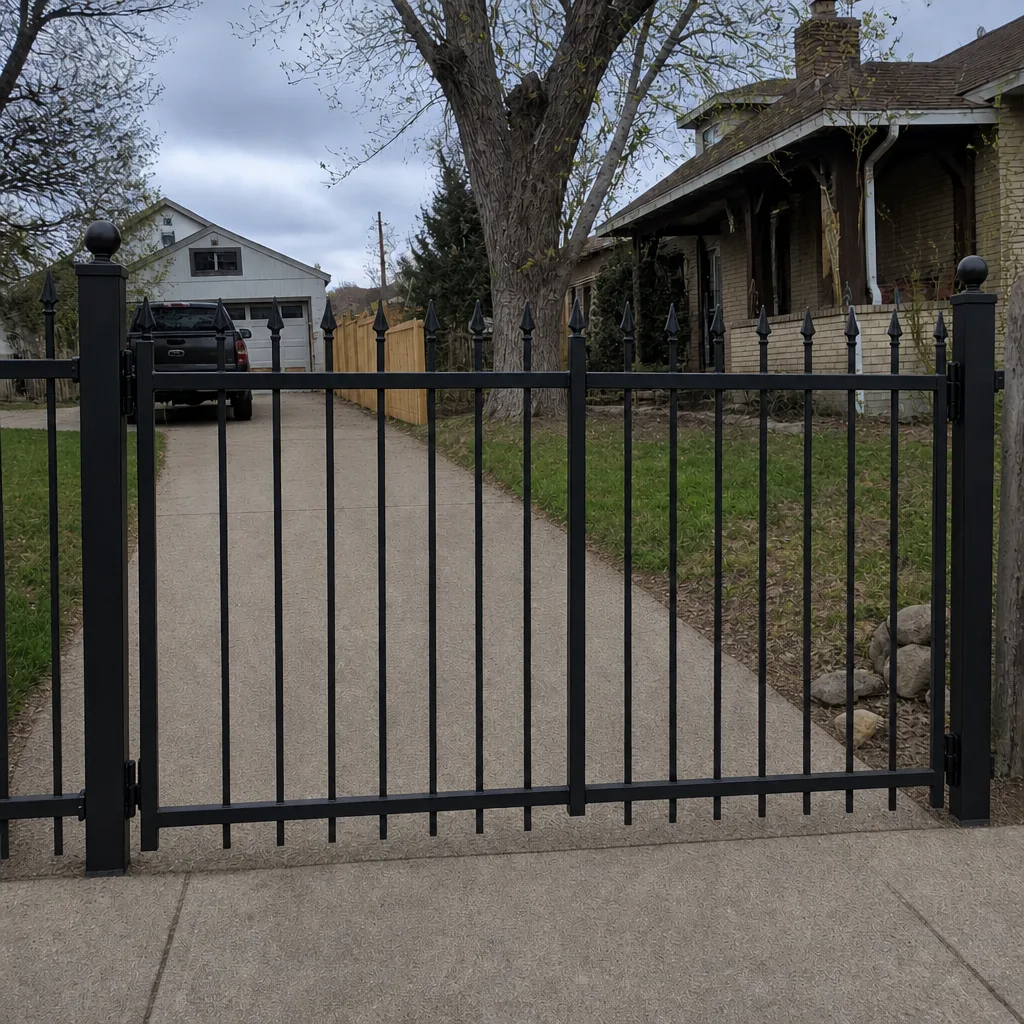 After
When to Call a Professional
Call us when you’ve worked the sequence and the fault lands on the operator, the control board, or anything involving power wiring near moving parts. Call us if the gate is heavy enough that a fall or a crush is a risk, or if the limit hardware is broken. If you’ve already replaced a part and the symptom didn’t change, that’s the moment to stop guessing and hand it to someone who services gates for a living. And if you’re a property manager responsible for an automated system that has to keep working, don’t wait for symptoms to become failures.
Westminster Gate Repair offers free estimates in Westminster. Call (833) 348-9387. We answer 24/7. Fast dispatch from 7am to 7pm, Sunday through Friday.
Frequently Asked Questions
On an automated gate, a won’t-close fault is most often a safety sensor that is blocked or misaligned. Clear anything in the sensor’s path, wipe the lenses, and check the indicator lights on each sensor. If the lights show a healthy steady state and the gate still won’t close, the fault has moved to the operator’s safety input or the board, and that’s worth a professional diagnosis. Call (833) 348-9387 for an exact quote. Estimates are free.
Because freeze-thaw cycling stiffens hinges and pivot points. Water gets into hinge pins and moving surfaces through the warmer part of the day, then freezes overnight, which puts the gate in a bind. The operator then pushes against that resistance, which makes the motor seem weak. Test the gate by hand with the operator released: if it’s stiff, the fix is in the hardware, not the motor.
We don’t recommend it on an automated system. The operator ties into mains power, safety sensors, and control logic, and a mistake there is an electrical and safety risk. Brand-specific boards also need correct pairing with the gate, sensors, and remote receiver. A specialist who knows your operator brand is the safer route for anything at the board level.
Use the won’t-move vs. moves-wrong test. A gate that won’t move at all points to power, signal, or logic. A gate that moves but moves wrong, grinds, reverses, or drifts points to mechanical resistance or calibration. If you put the operator in manual release and the gate is hard to move by hand, mechanical is the place to look first.
We’re experienced across the widest range of automated and manual gate brands in the area, including LiftMaster, Mighty Mule, FAAC, and BFT, along with many others. Brand capability means the recommendation fits the gate you have, not whatever part happens to be on the shelf. For any brand-specific repair, a specialty team is a good place to start.
A slight squeak on a gate that still moves freely can wait. A grind, a jerk, or a gate that strains is telling you it’s working against resistance, and that wears out the operator over time. If the symptom involves power wiring near moving parts or a heavy panel that has sagged, stop using the gate and call a professional.
The Bottom Line
Find the problem in the right order and you’ll fix the actual fault instead of a guess. Power first, then signal, then mechanical, then operator, then board. A gate that won’t move sends you one direction, and a gate that moves wrong sends you another. In a freeze-thaw climate, check the hinge by hand before you trust the motor reading, and check the sensors before you call the board suspect. When the fault lands on the operator, the wiring, or a heavy panel that has come out of true, stop and call a gate specialist. The right diagnosis on the first visit saves the second and third.
Contact
If your gate is acting up and you’d rather work with people who diagnose before they quote, call Westminster Gate Repair at (833) 348-9387 for a free estimate. We answer 24/7. Fast dispatch from 7am to 7pm, Sunday through Friday, with a written estimate before any work starts.
Written by the team at Westminster Gate Repair, serving Westminster since 2018.