
Last updated November 14, 2026
 Wrought iron
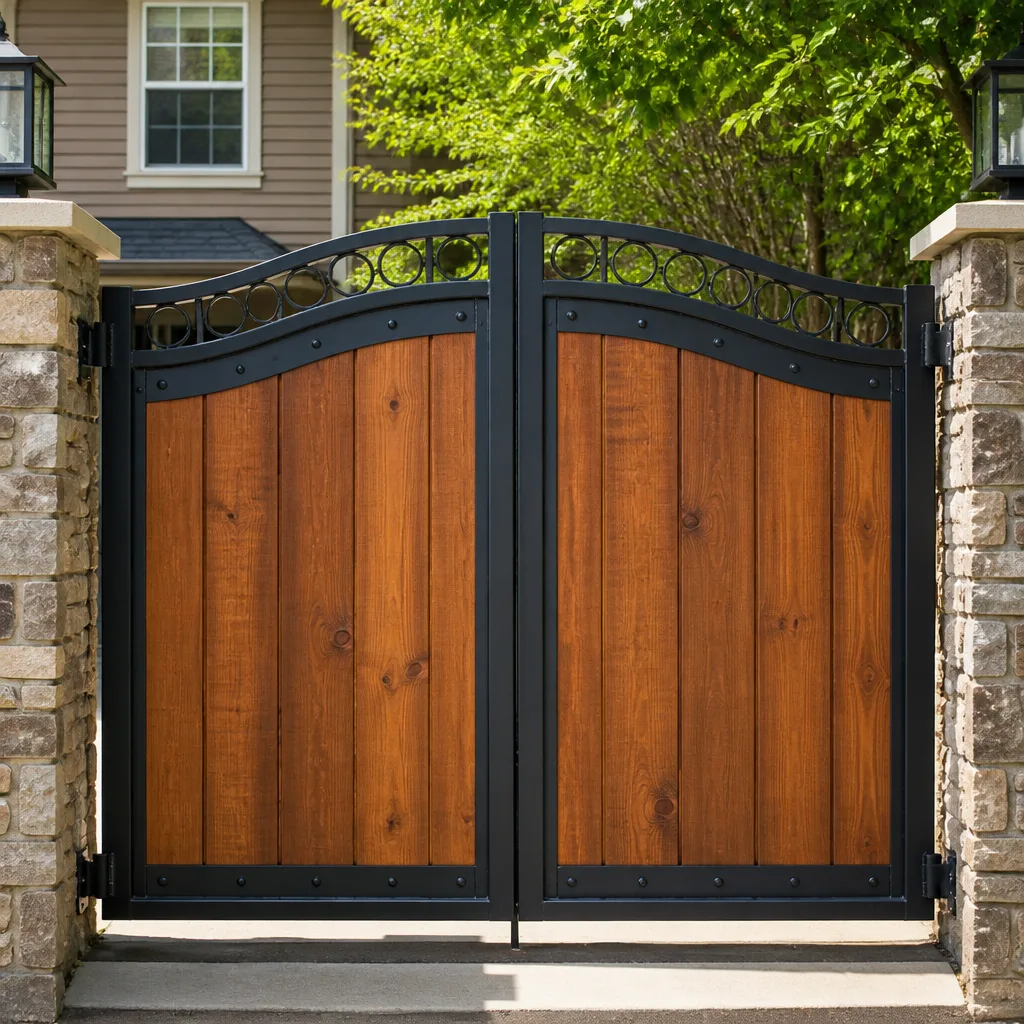 Wood & steel frame
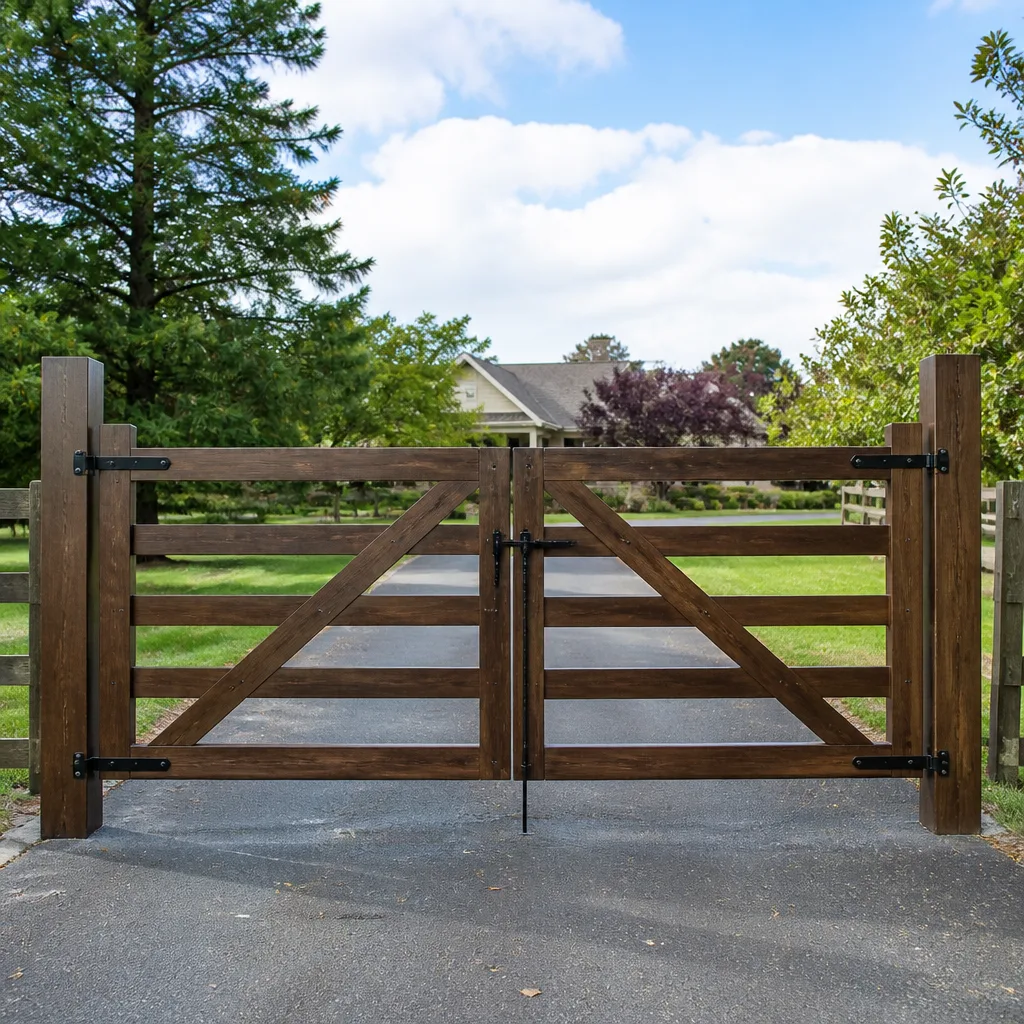 Farm & ranch
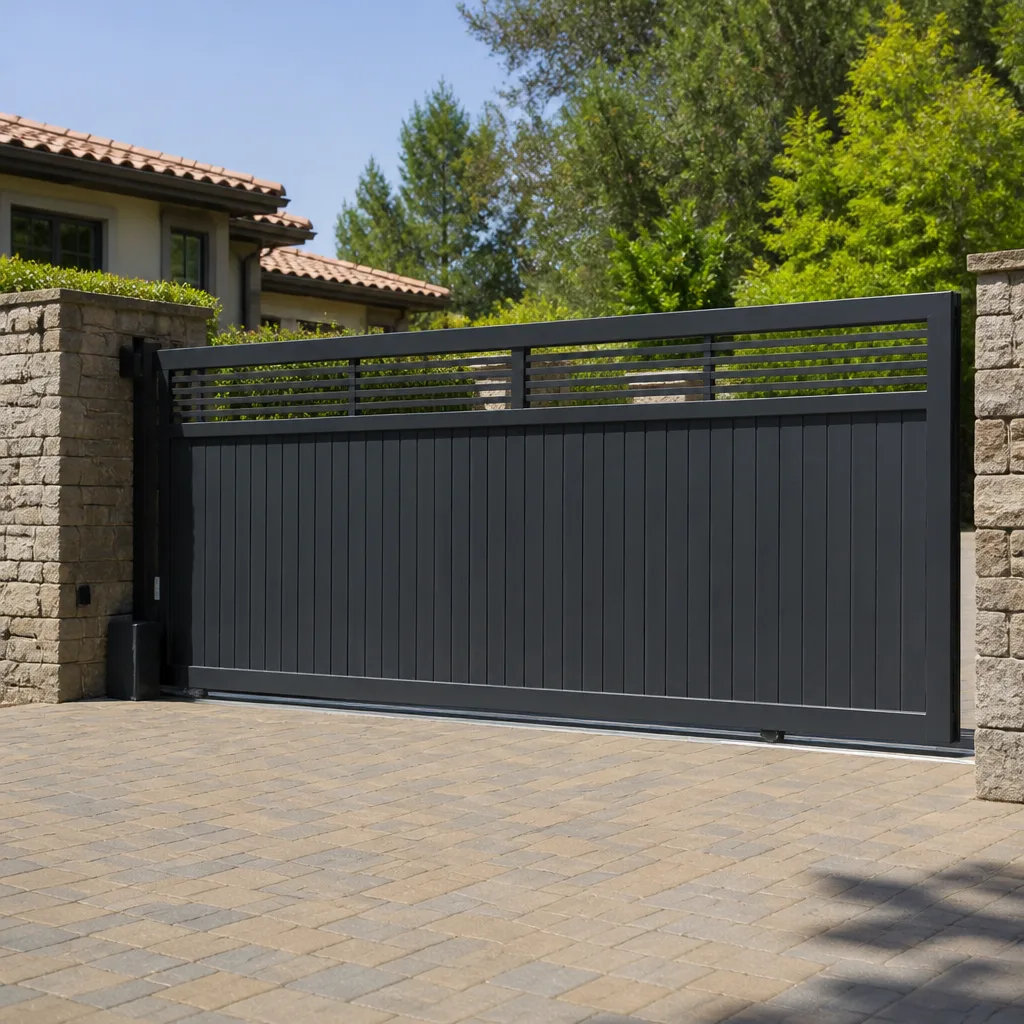 Sliding driveway gates
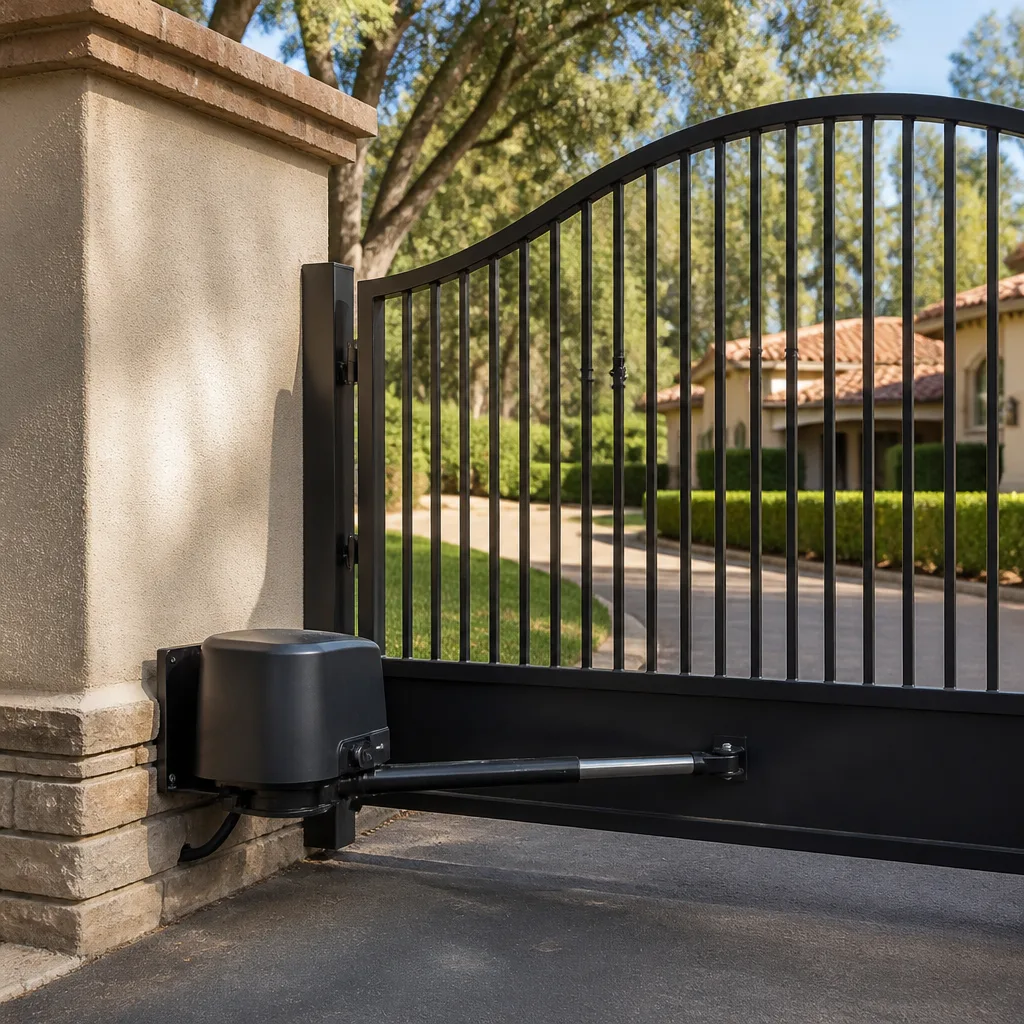 LiftMaster operators
Free on-site gate assessment - hinges, posts, and your LiftMaster or Nice gate operator checked before anything is quoted
The assessment is free and the quote is the invoice.
Get your free estimateGate Repair Maintenance Schedule: What to Do and When
Lubricating your gate operator in January the same way you do in July is how you create the problem you’re trying to prevent. Temperature changes how lubricants behave, how metal contracts, and how much strain your operator carries on every cycle. A calendar-based maintenance schedule ignores all of that. What actually matters in Westminster is what the weather just did to your gate and how many times it has cycled since you last looked at it. This guide replaces the generic quarterly checklist with a condition-based schedule built around how gates in this part of Colorado really wear. You’ll learn the three triggers that should drive every maintenance task, the lubricants that belong on each component, and a five-minute inspection you can run yourself to catch failures 60 to 90 days before they happen.
Quick Answer
A gate maintenance schedule should be triggered by weather events and cycle counts, not by the calendar. In Westminster, that means a full inspection and lubrication after the last hard freeze of winter, another after the summer monsoon season ends, and a component check every 2,000 cycles, whichever comes first. Battery backup load-testing belongs on that same schedule as its own task, because most gate batteries fail on the first cold snap that actually tests them, not gradually over time.
Styles & brands we work with
- Wrought iron
- Wood & steel frame
- Farm & ranch
- Sliding driveway gates
- LiftMaster operators
Table of Contents
- Why calendar-based maintenance fails in Westminster
- The three real maintenance triggers
- The right lubricant for every gate component
- Battery backup load-testing: a seasonal task, not an afterthought
- Reading hinge wear patterns to predict failure
- The 10-point five-minute visual inspection
- A season-by-season task map for Colorado gates
- Common mistakes to avoid
- When to call a professional
- Frequently asked questions
Why Calendar-Based Maintenance Fails in Westminster
A quarterly checklist assumes the environment is steady. It isn’t. Westminster sits at the foot of the Front Range, where a single week in late winter can swing from a 60-degree afternoon to a hard freeze overnight and back again. Metal expands and contracts with every one of those swings. Lubricant that flows freely at 70 degrees turns tacky and stiff at 15 degrees. An operator that cycles without complaint in October can labor noticeably by January, not because anything broke, but because the conditions under which it operates changed.
This is the core problem with date-based schedules. They tell you to lubricate in April because it’s April, not because your gate needs it. A gate on a busy residential driveway might cycle 40 or 50 times a day. A gate at a property manager’s shared entrance might cycle several hundred. Both get the same quarterly reminder from a generic checklist, even though one needs attention far more often than the other.
Condition-based maintenance flips the approach. You watch for the events that stress the equipment and you track how much work it has actually done. That’s how the technicians at Westminster Gate Repair approach every gate we look at, and it’s the schedule this guide lays out. The specific dates vary from year to year because the weather varies. The triggers don’t.
One more Westminster-specific factor: the ground here moves. Expansive clay soils shift with freeze and thaw cycles, and that movement shows up at gate posts before anywhere else. A post that was perfectly plumb in September can lean by March. Your maintenance schedule needs to account for checking post plumb and hardware tightness after the ground has gone through a full freeze-thaw cycle, not on an arbitrary date in the middle of winter.
The Three Real Maintenance Triggers
Every task in a condition-based schedule hangs off one of three triggers. When any one of them fires, you run the relevant tasks. Whichever comes first.
Trigger 1: Post-winter thaw
This is the big one. Once the ground thaws and the last hard freeze has passed, your gate has been through months of thermal cycling, frost heave, and the heaviest loads your operator sees all year. Cold stiffens grease, thickens hydraulic fluid, and raises the amperage draw on every motor. The thaw is when you inspect for post movement, check hardware torque, test the operator under load, load-test the battery, and re-lubricate every moving part with the correct product for the warmer season ahead.
Trigger 2: Post-monsoon
Colorado’s summer monsoon pattern brings concentrated rain in short, heavy bursts. That moisture finds every gap: hinge pins, track channels, control board enclosures, the seals around photo-eye housings. After the monsoon season ends, you’re checking for water intrusion, corrosion on electrical connections, debris in the track or rack, and the condition of the seals that keep moisture out of the operator housing. This is also when you verify that your safety sensors and safety edges still trigger correctly after a season of storms and power surges.
Trigger 3: Every 2,000 cycles
Cycle count is the honest measure of wear. Manufacturers size components for a service life measured in cycles, not months, and 2,000 cycles is a practical checkpoint for a residential gate. If you have a LiftMaster or Linear operator with cycle counting in its control board, pull the number and track it. If you don’t, estimate: count an average day’s openings for a week, multiply, and set your inspection interval from that. A gate that opens 30 times a day hits 2,000 cycles in about two months. A gate that opens 8 times a day takes most of a year. The tasks at the 2,000-cycle checkpoint are a full hinge and hardware inspection, chain or rack tension check, operator mounting bolt torque, and a listening test for any new noise under load.
Combine the triggers where they overlap. A post-thaw service that happens to land near a 2,000-cycle checkpoint is one visit, not two.
The Right Lubricant for Every Gate Component
This is where most do-it-yourself maintenance goes wrong, and it goes wrong in a way that costs real money. The wrong lubricant attracts grit, gums up in cold weather, or washes out the factory grease that was protecting a component in the first place. Match the product to the part.
Chain-drive operators
Use a chain-specific lubricant, ideally a dry film or a light chain lube that penetrates the rollers and then sets. Apply it to a clean chain, wipe off the excess, and let it dry. Chain lube is designed to stay on the chain under load rather than fling off onto the housing and driveway.
Rack-and-pinion (slide gate) operators
Rack and pinion needs a heavier grease that stays put on the teeth under load. A lithium-based or moly grease applied with a brush to the rack teeth and pinion gear is the standard approach. Excess grease is a grit magnet; apply a thin, even film and wipe the rack clean before you reapply. This is common on FAAC and BFT slide operators, and the grease specification in the operator manual matters.
Screw-drive operators
Screw-drive operators generally want a lighter lubricant or the specific product the manufacturer specifies for the screw. Heavy grease can bind the mechanism instead of easing it. Check the manual before you touch it; this is one component where guessing is a bad idea.
Hinges, pivot points, and latches
Here is the mistake we see most often: WD-40 on hinges. WD-40 is a water displacer and light solvent, not a lubricant designed to carry load. It strips the existing grease, evaporates, and leaves the hinge running dry. The gate then develops play, the hinge pin wears oval, and over time the gate sags and drops off its track or swing path. Use a proper hinge lubricant: a lithium grease, a white lithium spray, or a purpose-made gate hinge lubricant. Apply it to the pin and the knuckle, work the gate through a few cycles, and wipe the excess. Do the same for pivot points and latches.
What never to use
- WD-40 on hinges, pivots, or anything under load
- Motor oil or cooking oil as a substitute for grease
- Silicone spray on chain or rack teeth; it’s too light to protect under load
- Graphite on outdoor hardware; it attracts moisture and gums up
- Any heavy grease on a screw-drive screw unless the manual says so
If you’re not sure what belongs on your operator, tell us the brand, whether it’s a LiftMaster swing operator or a FAAC slide unit, and we’ll point you to the right product. Getting this right is a big part of electric gate repair that actually lasts.
Battery Backup Load-Testing: A Seasonal Task, Not an Afterthought
Most gate battery failures don’t announce themselves. A battery will hold a surface charge and look fine on a multimeter right up until the moment the operator actually needs it, and that moment is usually during a power outage in the middle of a cold snap. A resting voltage check doesn’t tell you whether the battery can deliver the amperage to open the gate against a stiff, cold mechanism. You have to load-test it.
Here’s the plain reason cold matters so much: a lead-acid battery loses a share of its available capacity as temperature drops. A battery that has been quietly aging for two years may still start your gate on a mild day and fail on the first hard freeze that asks it to work harder than it has in months. That’s why the post-thaw inspection and the pre-winter inspection are both battery checkpoints. Load-testing before winter tells you whether the battery will carry you through the cold.
How to load-test a gate battery properly
- Disconnect the operator from AC power at the breaker (this is the part where homeowners should be cautious; if you’re not comfortable with the breaker and the control board enclosure, have a technician do it).
- With the battery as the only power source, cycle the gate through a full open and close.
- Watch for the operator slowing noticeably, straining, or stopping before it finishes the cycle. Any of those means the battery is failing under load.
- If you have an amp clamp, compare the draw to the operator manual’s specification. A draw well above spec points to a failing battery or a mechanical bind.
- Reconnect power and confirm the operator returns to normal AC operation.
Battery backup is one of the components that separates a gate that keeps working through an outage from one that strands you. If your operator has a battery and you can’t remember the last time anyone looked at it, that’s reason enough to put it on the schedule. On a DoorKing or LiftMaster residential system, a load test is a twenty-minute task a technician can fold into a regular visit. If the gate won’t cycle on battery at all, that’s a call. The team at Westminster Gate Repair can load-test it and tell you whether you need a new battery or whether something else is draining it.
Reading Hinge Wear Patterns to Predict Failure
Hinges fail on a timeline you can read, if you know what to look at. The wear pattern on a hinge tells you roughly where in that timeline you are, which means you can catch a hinge 60 to 90 days before it drops the gate off its swing path or track. That’s the difference between a quick hinge swap and a gate that has to be re-hung or has damaged the post and operator.
The key measurement is called hinge bind or hinge play. With the gate closed, grab the gate near each hinge and try to lift it and push it side to side. Some tiny movement is normal; that’s mechanical clearance. What you’re looking for is the amount and direction of that play, and whether it’s changing over time.
Wear pattern 1: side-to-side play at the hinge knuckle
If the gate rocks side to side more than it did last time you checked, the hinge pin or knuckle is wearing oval. This is the most common early failure on a swing gate. It’s also the one that leads to a sagging gate that drags the ground or clips the operator arm. Caught early, a loose hinge is a hardware replacement. Caught late, it’s a hinge, a re-hang, and probably a bent operator arm.
Wear pattern 2: vertical drop at the leading edge
Measure the gap between the gate’s leading edge and the ground, or between the gate and its receiver post, and note it. If the leading edge has dropped a quarter inch or more since you last measured, a hinge is failing or a post has moved. In Westminster, where freeze-thaw moves the ground, post movement is a real candidate; don’t assume it’s always the hinge.
Wear pattern 3: hinge-pin discoloration and grease weeping
A hinge that’s running dry shows it. Look for bright metal where the grease has gone, rust staining around the pin, and grease weeping out of the knuckle onto the gate. Bright metal on the pin means it’s wearing against the knuckle, which is the stage right before you get significant play.
Wear pattern 4: a hinge that gets hot or squeals
Heat and noise are late signs. A hinge that squeals on every cycle or is warm to the touch after operation is close to failure. Don’t lubricate it and move on; find out why it’s binding before it drops the gate.
Do this check at every post-thaw inspection and every 2,000-cycle checkpoint, and write down what you find so you have something to compare. A gate repair visit that gate repair focuses on is usually a gate that was caught before a hinge failure turned into a structural problem. Reading the pattern is how you get there.
The 10-Point Five-Minute Visual Inspection
You don’t need tools or training to flag a problem. Run this list once a month, and always after a big storm or the first hard freeze of winter. Anything that raises a flag goes on the list for a technician.
- Overall gate alignment. Open and close the gate slowly by hand if it’s a manual gate, or watch it cycle on power. Does it move smoothly, or does it catch, hesitate, or shake at any point?
- Post plumb. Stand back and look at the gate posts. Do they look vertical? A post starting to lean means the ground under it has moved.
- Hinge play. Try to lift the gate at each hinge. A little movement is normal. Creaking, side-to-side wobble, or a leading edge that’s dropped is not.
- Hinge and hardware condition. Look for rust staining, bright metal on pins, and dry joints. Note anything that looks dry or discolored.
- Track or swing path. Check the ground path or overhead track for debris, gravel, ice buildup, or anything that would catch the gate.
- Operator housing. Look at the operator for water intrusion, cracked covers, insect or rodent activity, and dust or grit around seals.
- Safety sensors and edges. With power on and the gate closed, walk through the photo-eye beam or put light pressure on the safety edge. The gate should stop or reverse. If it doesn’t, stop using the gate and call.
- Lights and control board. Note any blinking or error lights on the control board. A blinking pattern is usually telling you something specific; write down the pattern.
- Listen for new sounds. Run the gate through a couple of cycles and listen. New grinding, squealing, popping, or a motor that sounds like it’s working harder than it used to all matter.
- Battery indicator. If your operator has a battery indicator or error code for low battery, note it. Don’t assume a working gate on AC power means the battery is fine.
If everything passes, you’re done. If anything flags, you’ve got a short list for a technician that will save a lot of diagnostic time and may catch a problem before it strands the gate. For property managers in Highlands Ranch running multiple gates, this five-minute check per gate is a low-cost way to keep a fragile system from failing unexpectedly.
A Season-by-Season Task Map for Colorado Gates
Dates shift year to year, but the sequence holds. Here’s how a condition-based schedule plays out across a Westminster year.
Late winter to spring (the thaw): the biggest service of the year
- Full inspection: hinges, posts, hardware, operator mounting
- Re-lubricate hinges, pivots, chain, and rack with the correct product for warmer weather
- Load-test the battery backup
- Check safety sensors and edges
- Verify post plumb and hardware torque after the freeze-thaw cycle
Spring into summer: the working season
- Cycle-count check and 2,000-cycle tasks if due
- Clear the track and swing path of spring debris
- Test the operator under everyday load and listen for new noise
- Check the battery resting voltage as a rough indicator (load test is still the real test)
Monsoon season and after
- Post-monsoon inspection for water intrusion, corrosion, and debris
- Check control board enclosure seals and electrical connections
- Re-test safety sensors after storms and power surges
- Inspect for any rust on hinges, pins, and track
Fall, before the first freeze
- Load-test the battery before cold weather stresses it
- Re-lubricate with a product rated for cold temperatures
- Check hardware torque and hinge play one more time
- Verify the operator’s cold-weather settings, if it has them
Note that this map is built around what the weather just did, not around four equal quarters. Some years the thaw is a single event; some years it’s a couple of weeks of back-and-forth. Watch for the trigger, not the date. If you’re not sure what your gate needs, that’s a good reason to have someone look at it. Westminer Gate Repair offers a free estimate, and a technician can run through this whole schedule with you so you know exactly what to do the rest of the year.
Common Mistakes to Avoid
- Lubricating with the same product year-round. A light summer lubricant can turn tacky and bind in winter cold. Match the lubricant to the season and the component, and re-lubricate at the thaw and before the first freeze.
- Using WD-40 on hinges and pivots. It strips grease and leaves the hinge running dry. The hinge pin wears oval, the gate sags, and eventually it drops off track. Use a real grease, not a water displacer.
- Skipping the battery until it fails. A battery that passes a voltage test can still fail under load on a cold morning. Load-test it before winter, not after it strands you.
- Assuming a gate that opens normally is healthy. Hinge wear, post movement, and slow battery failure often show no symptom until the failure is sudden. The five-minute visual inspection exists to catch what a normal cycle hides.
- Ignoring post movement after freeze-thaw. Westminster’s soil moves with frost, and a post that was plumb in fall can lean by spring. A leaning post stresses hinges and the operator; check it at the thaw.
- Over-greasing everything. Excess grease attracts grit, and grit grinds the mechanism. Apply a thin, even film, wipe the excess, and keep the track and rack clean.
- Letting a monsoon-season problem wait. Water intrusion and corrosion get worse quietly. A sensor that fails after a storm is a safety problem, not a nuisance; test your safety edges after every significant storm.
When to Call a Professional
Some tasks are fine to do yourself: the visual inspection, the re-lubrication, and wiping down the track. Others need a technician. Call a professional when a gate doesn’t reverse on a safety sensor or safety edge, when a hinge shows visible play or the leading edge has dropped, when the operator throws error codes you can’t clear, when a post looks out of plumb, or when your gate battery won’t carry a cycle. Any work inside the operator housing or the electrical circuit is a job for a trained person; a control board or a live circuit isn’t the place to learn. Westminster Gate Repair offers free estimates in Westminster and serves residential and commercial gates across the area. Call (833) 348-9387. We answer 24/7. Fast dispatch from 7am to 7pm, Sunday through Friday. Whether it’s a single hinge or a full automated system, we diagnose before we quote, and the price is set by the written estimate before any work starts.
Frequently Asked Questions
Service your gate after the winter thaw, after the summer monsoon season, and every 2,000 cycles, whichever comes first. A calendar frequency is less useful in Westminster than a condition-based one, because the wear on a gate here tracks what the weather just did and how many times the gate has cycled, not the date on the wall. A gate on a busy driveway may hit 2,000 cycles in about two months; a gate on a quiet one may take most of a year.
No. WD-40 is a water displacer and light solvent, not a load-bearing lubricant. It strips the existing grease off a hinge and evaporates, leaving the pin running dry. That leads to hinge wear, gate sag, and eventually a dropped gate. Use a lithium grease or a purpose-made gate hinge lubricant instead.
A resting voltage check tells you the battery holds a charge, not whether it can deliver the current to move a cold, stiff gate. On a cold morning a lead-acid battery delivers a fraction of its capacity, and an aging battery that looks fine on a multimeter can fail under load. Load-test it by cycling the gate on battery alone and watching for strain. That’s the only reliable test.
Look for side-to-side play at the hinge knuckle, a leading edge that has dropped, bright metal or rust staining on the hinge pin, and squealing or heat during operation. Any of those signs point to a hinge on a timeline toward failure. Caught at the first signs, a hinge is a hardware replacement; caught late, it’s a re-hang and often a bent operator.
Yes, and more often than most people do it. Test photo-eye sensors and safety edges after any storm, after the monsoon season, and at every inspection. Walk through the beam or put light pressure on the edge and confirm the gate stops or reverses. If the gate doesn’t respond, stop using it and call a technician; the safety device is what keeps the gate from closing on a person or a vehicle.
We work on the brand you have across the nine nationally recognized gate and operator brands we service, including LiftMaster, FAAC, BFT, Linear, Viking, Ghost Controls, DoorKing, Elite, and Mighty Mule. That matters for maintenance because the right lubricant, the right battery, and the right control-board procedure all depend on which operator you have. Call (833) 348-9387 and tell us the brand; a free estimate is easy to arrange.
The Bottom Line
Maintenance that follows the calendar, not the conditions, is guesswork. The Westminster schedule that actually protects a gate is built on three triggers: the post-winter thaw, the post-monsoon season, and every 2,000 cycles. Match the lubricant to the component, load-test the battery before the cold, read the hinge wear patterns so you see a failure 60 to 90 days out, and run the five-minute visual inspection once a month. Westminster Gate Repair is a dedicated gate specialist, not a generalist; we diagnose before we quote, and every job is priced by a written estimate before the work starts. Call (833) 348-9387. We answer 24/7. Fast dispatch from 7am to 7pm, Sunday through Friday. Whether it’s a single broken hinge or a full automated system installation, we handle it. Estimate are free.
Written by the team at Westminster Gate Repair, serving Westminster since 2018.
See the difference
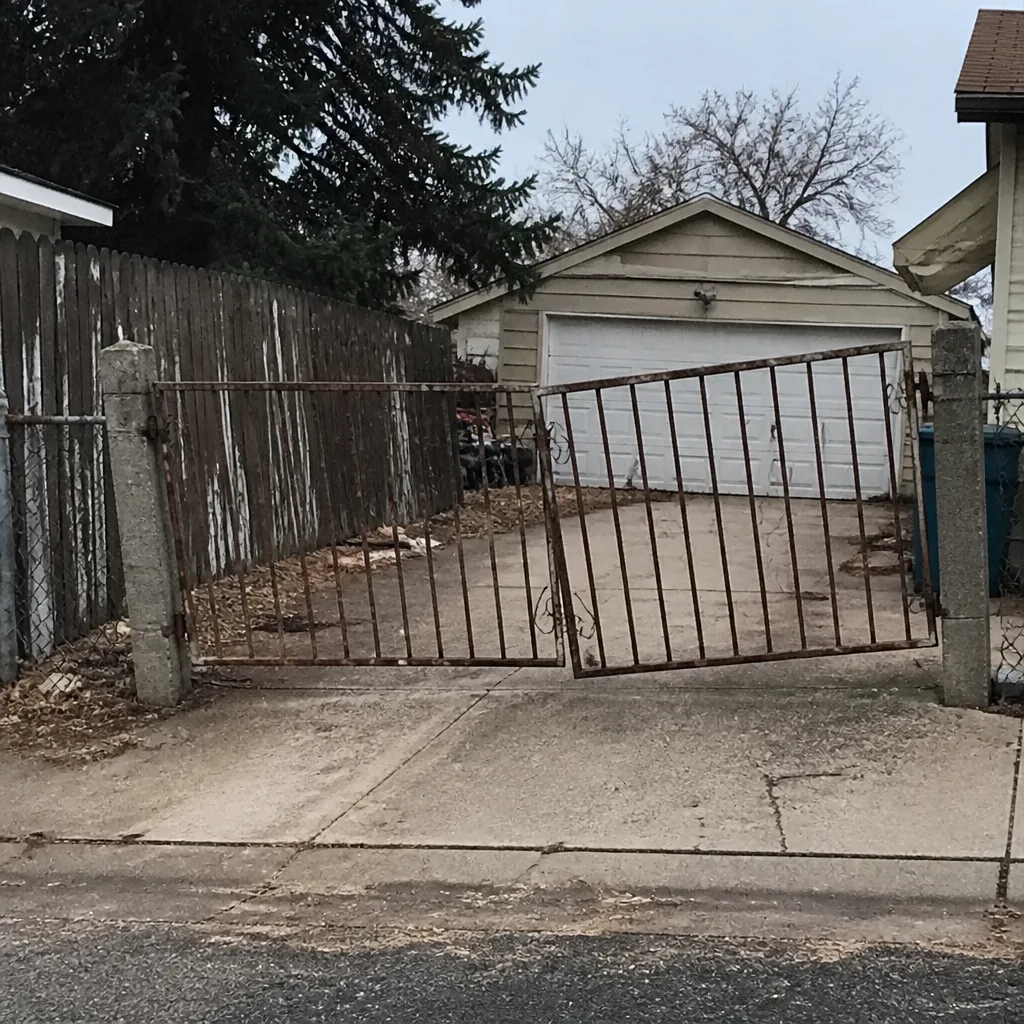 Before
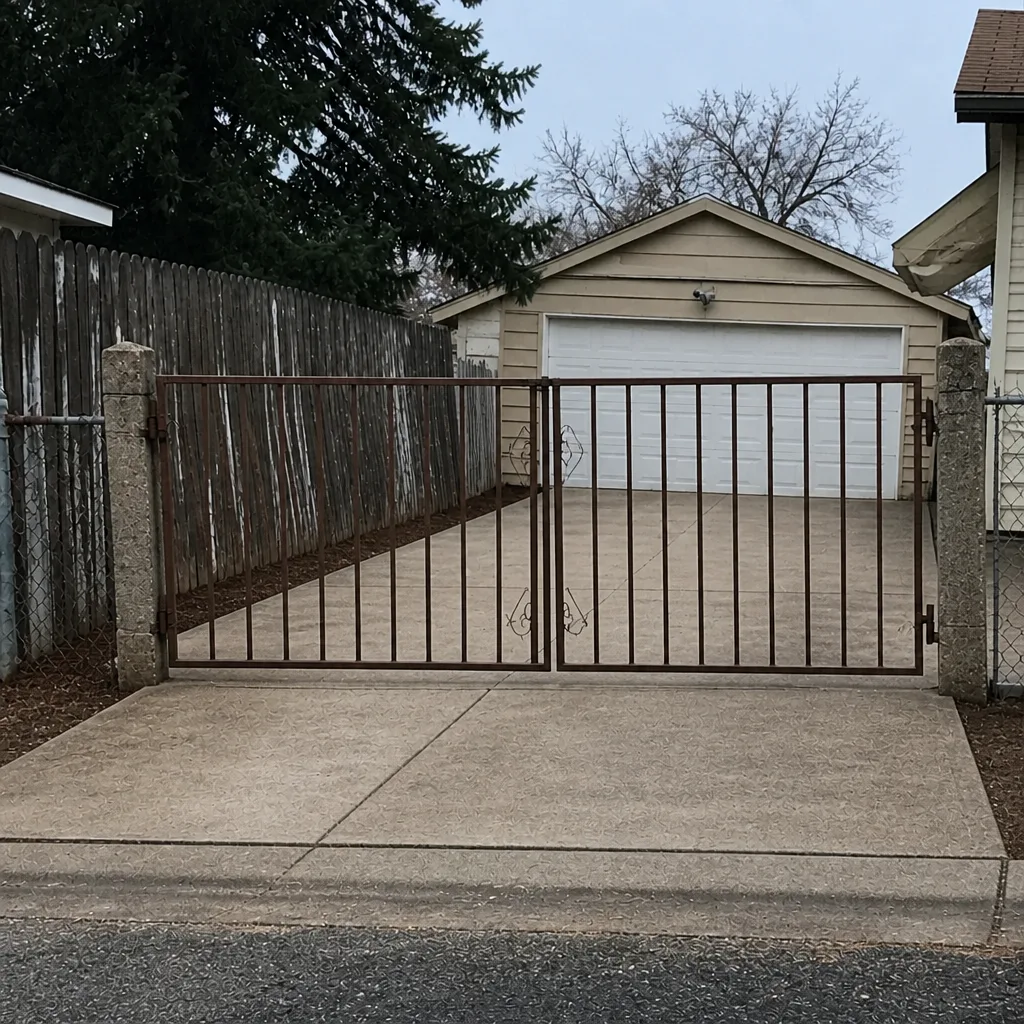 After
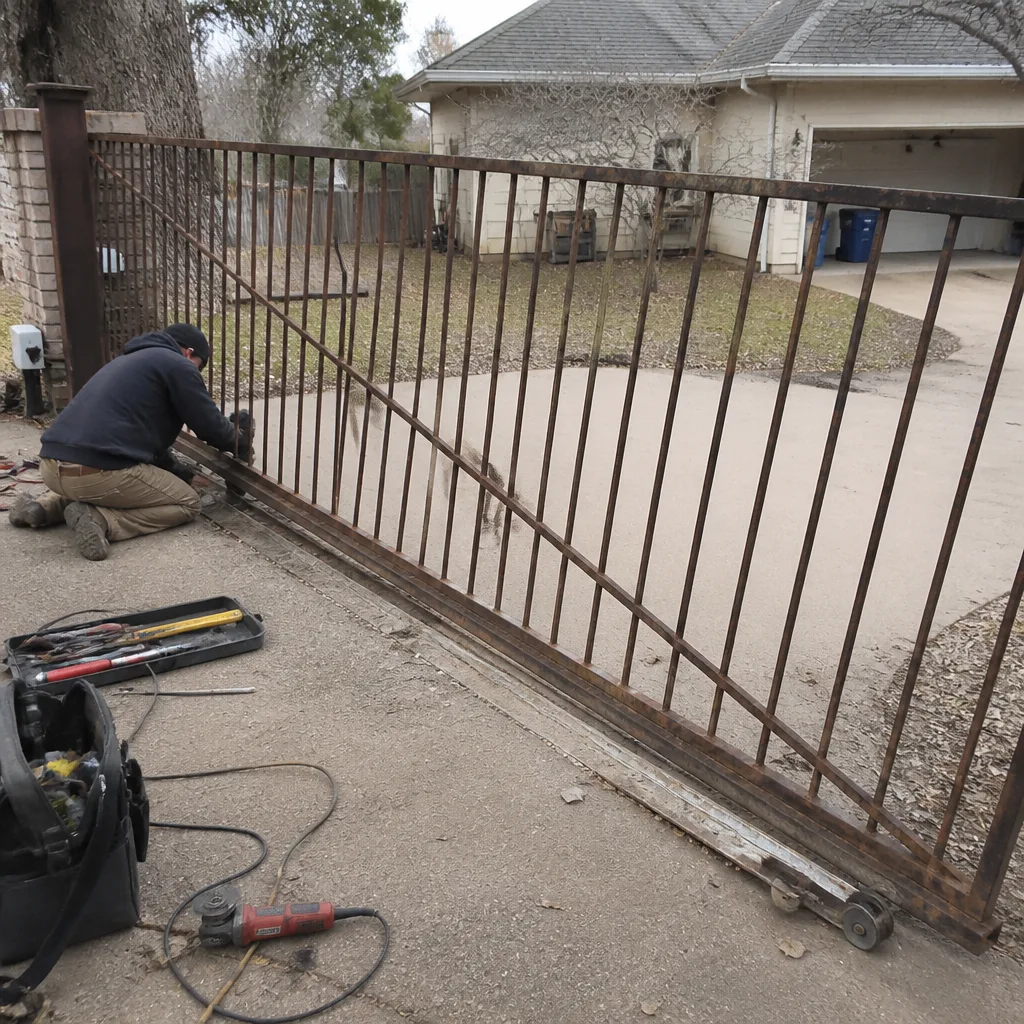 Before
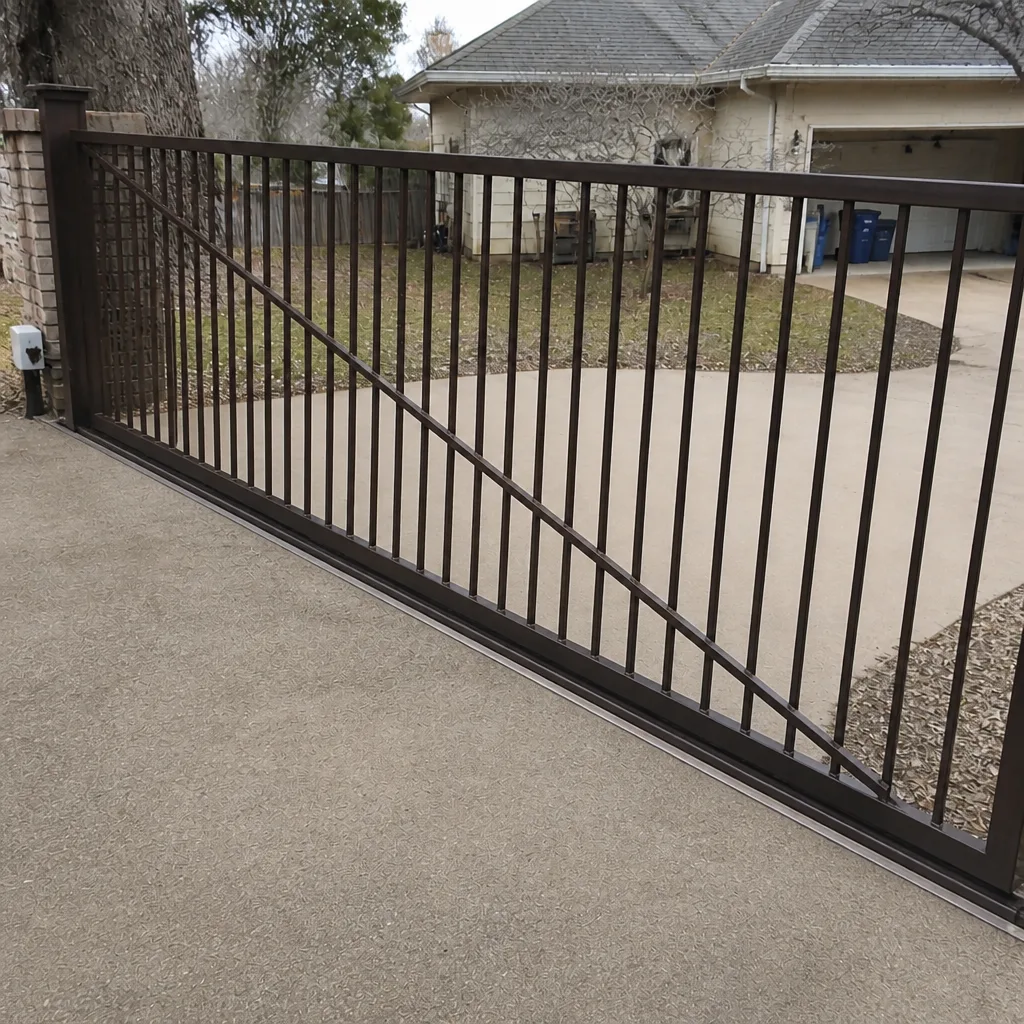 After
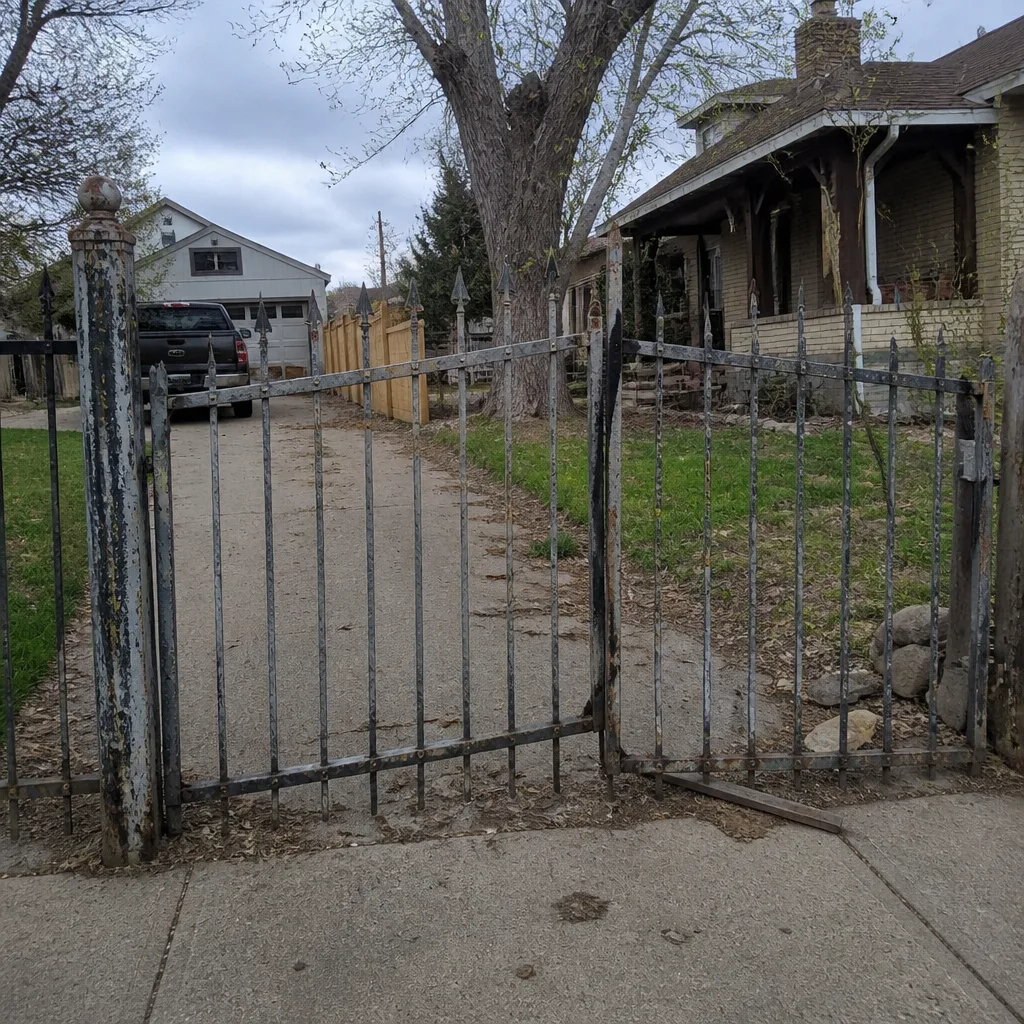 Before
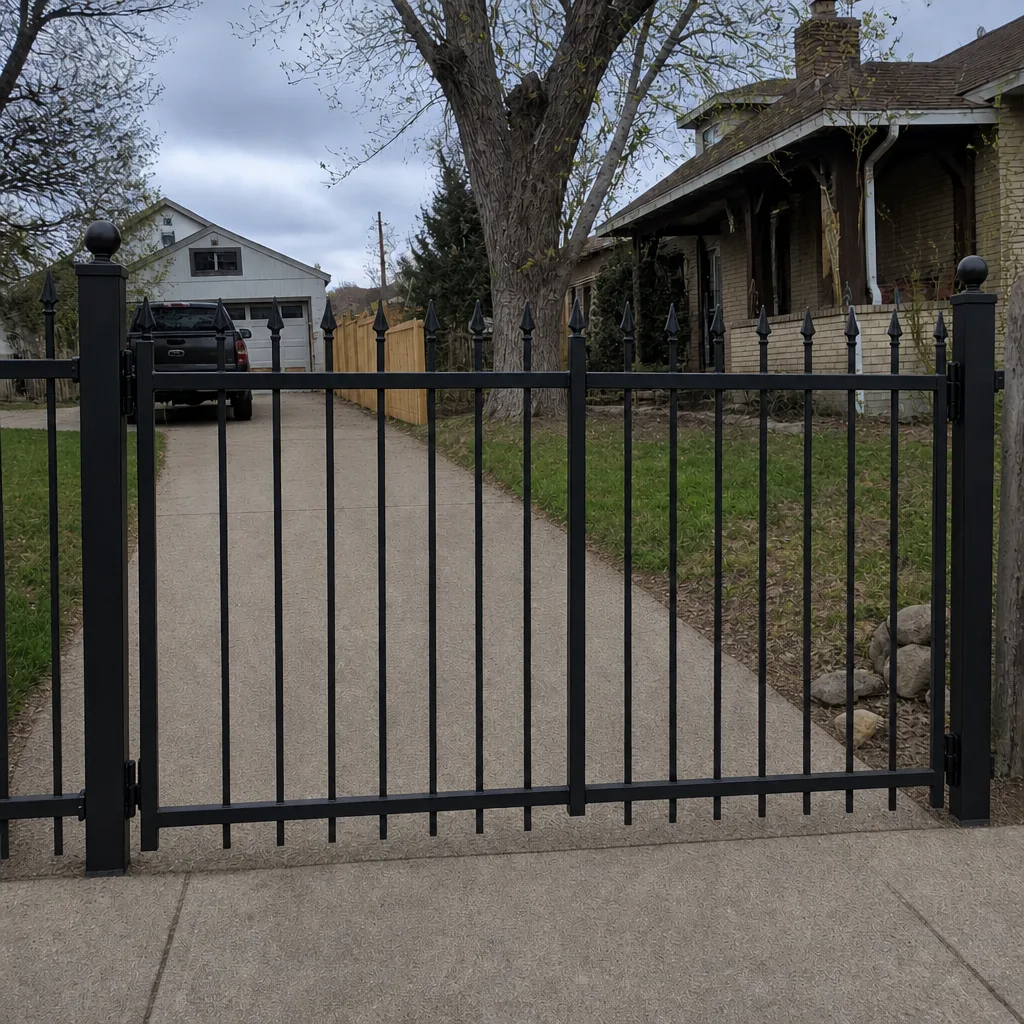 After